
How to Install Drip Irrigation for Potted Plants
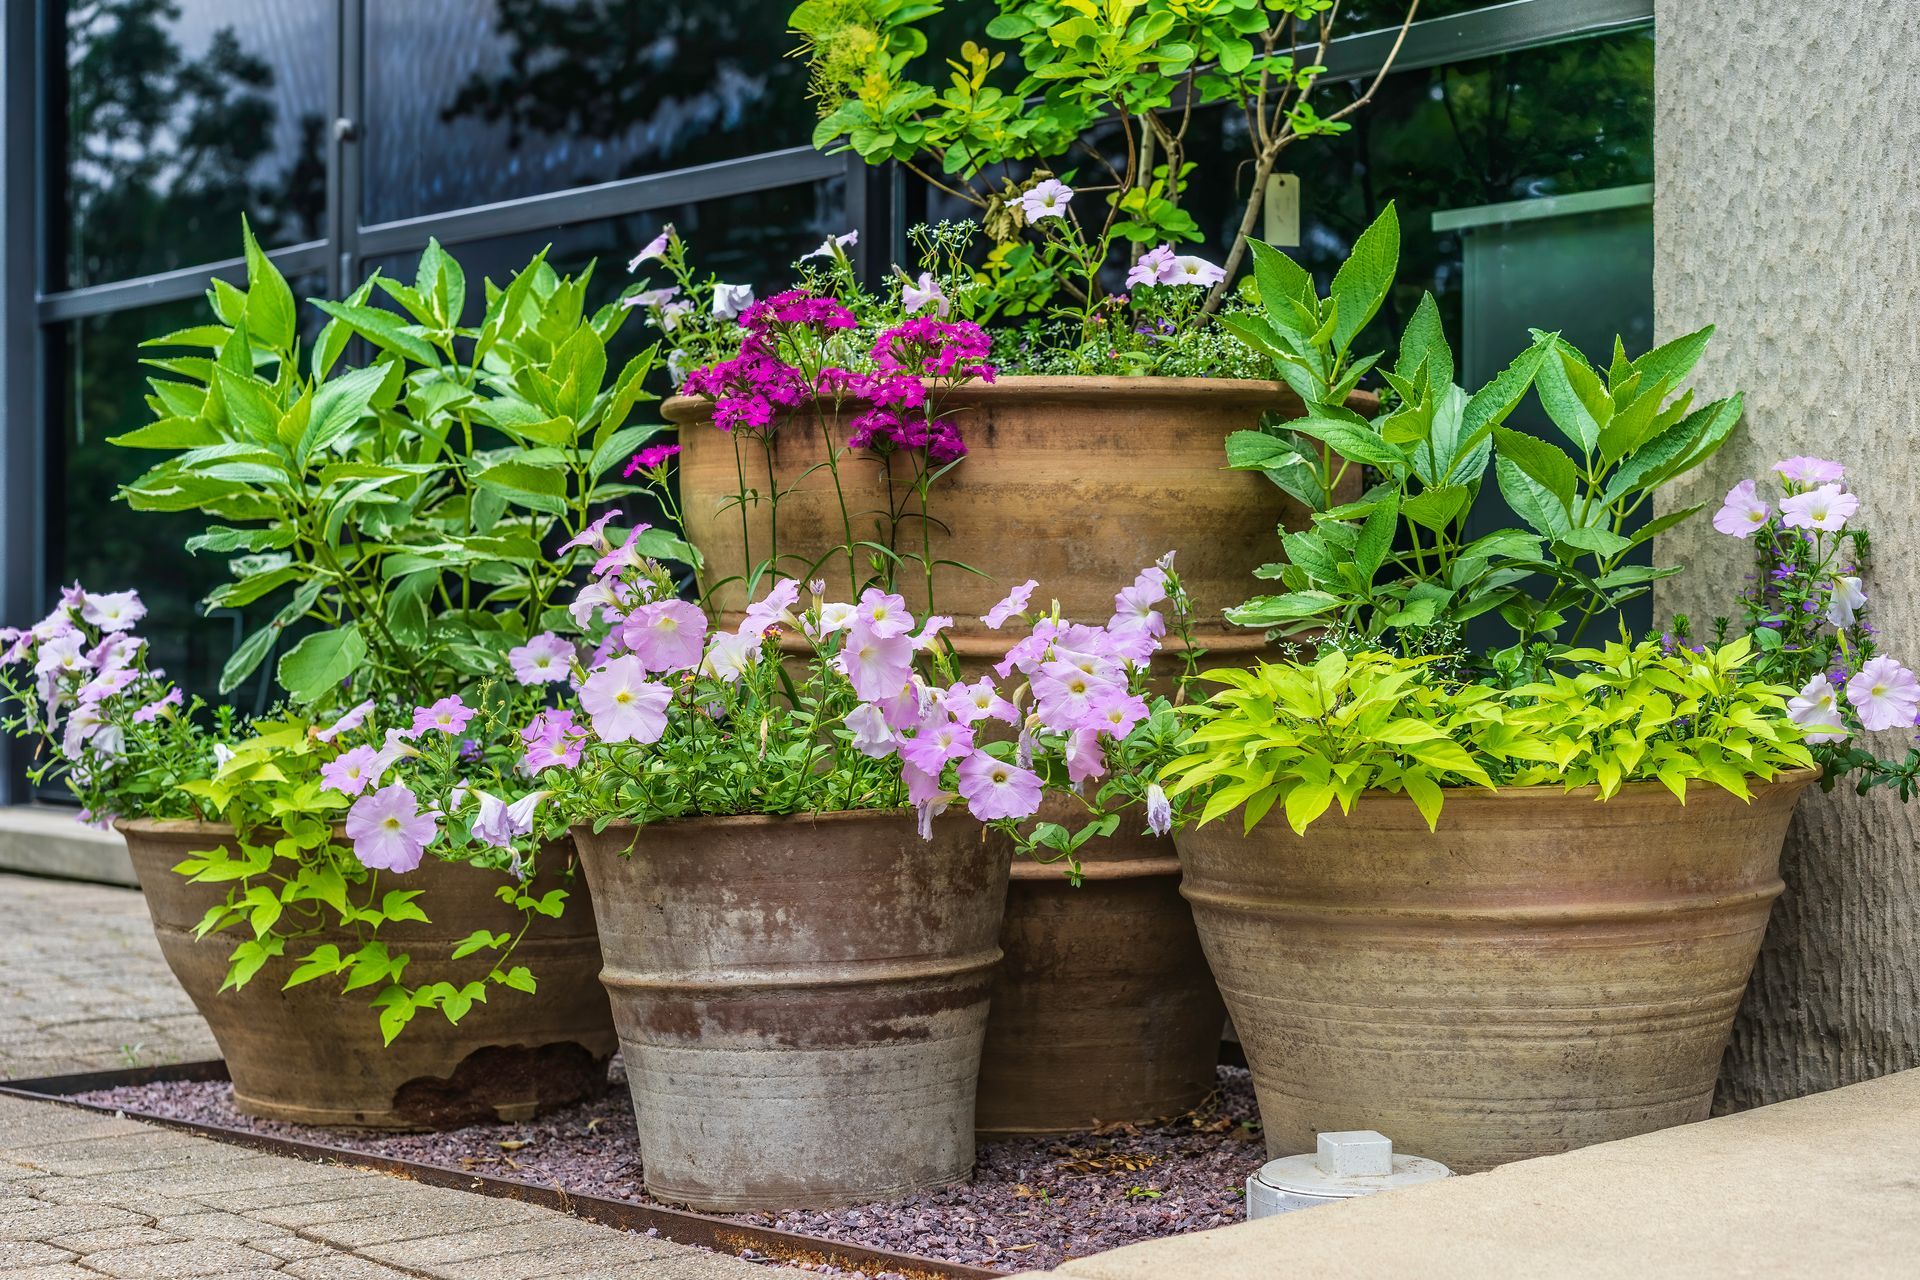
Watering potted plants one by one is miserable. Not only is it miserable to water each plant individually, but takes a lot of time. And like most people, you probably just kinda guess at how much to water and move on to the next plant.
That's where drip irrigation comes in. This guide is about installing drip irrigation for potted plants and containers to save you from more watering misery.
Table of Contents
Installing Drip Irrigation for Potted Plants
Let's learn how to install drip irrigation for potted plants. The time saved alone is worth it. Trust me.
We'll run through the process with a standard drip irrigation kit for container gardening. This kit can handle up to ten containers no more than 30 feet from the water supply.
Again, you don't need to buy any of this. If you have more potted plants that are further away from the water supply (and you do plan on using a kit), you may just need to choose from the deluxe, premium or ultra drip irrigation kit for potted plants.
Supplies
- 1/4" Mainline poly tubing: The mainline tube is the backbone of the entire drip irrigation system. It runs from the water supply to each individual plant. You'll spend most of your time installing the mainline tube.
- Hose End Timer: The entire purpose of drip irrigation is automation. Get a small hose or irrigation timer and hook it up to the same spigot. These usually don't come included in any kits so you may have to buy one separately.
- Backflow preventer: One of the most important parts of an irrigation assembly. It goes into the head assembly and prevents any water from the irrigation system from potentially going back into the main water supply.
- Canister Filter: Prevents contaminants from getting into the system that can potentially clog or damage the system.
- Pressure Regulator: We covered this in our other article on drip irrigation but the pressure regulator is a crucial piece of equipment. The pressure regulator maintains downstream pressure at 25 PSI, which is the optimum pressure for the drip emitters we'll discuss below. You risk developing leaks or outright blowing out the line if you don't have a pressure regulator. You need steady and constant pressure for the entire system.
- 1/4" Tubing Adapter: A simple adapter where you connect the mainline poly tubing to the 1/4" barb on the adapter, which then connects to the mainline. This is how you connect the tubing to the water source.
- Button Drippers: The button drippers are what actually delivers water directly to your plants. They deliver constant water to the plants and keep the soil moist.
- 1/4" Barbed Coupler: Barbed couplings are what you use to join together two portions of the poly tubing you are using as your mainline water supply.
- 1/4" Barbed T: Another common piece in any drip irrigation kit. You would use these to branch your tubings in any direction. You would use these when you get to one of the pots. Branch one piece of tubing off to one of your containers while you continue the tubing to another pot.
- 1/4" Barbed Elbow: Elbows are nice to make your drip irrigation system appear just a bit more organized. But the tubing is flexible enough, so these aren't a requirement. You would use these to avoid creating kinks in your line.
- Tidy Bow: Kind of like the elbow fitting but you just run tubing through the tidy bow to give your system an aesthetic appeal.
- 1/4" Tubing Clamp: Good piece if equipment if you want to secure your tubing to a deck, a patio, etc.
- Goof Plugs: Goof plugs are used to close up the end of the mainline poly tubing runs.
- Tubing Cutter: You could use scissors or a knife here, but a tubing cutter is safe and efficient. We would suggest you use one to cut the poly tubing as you go.
- Stabilizer stake:
This is meant to stabilize your tubing and button dripper within the plants. You put the quarter-inch tubing into the stabilizer slots, and then you stick the stabilizer into the soil. The dripper then hovers over and drips water into the container or plant.
Head Assembly Preparation
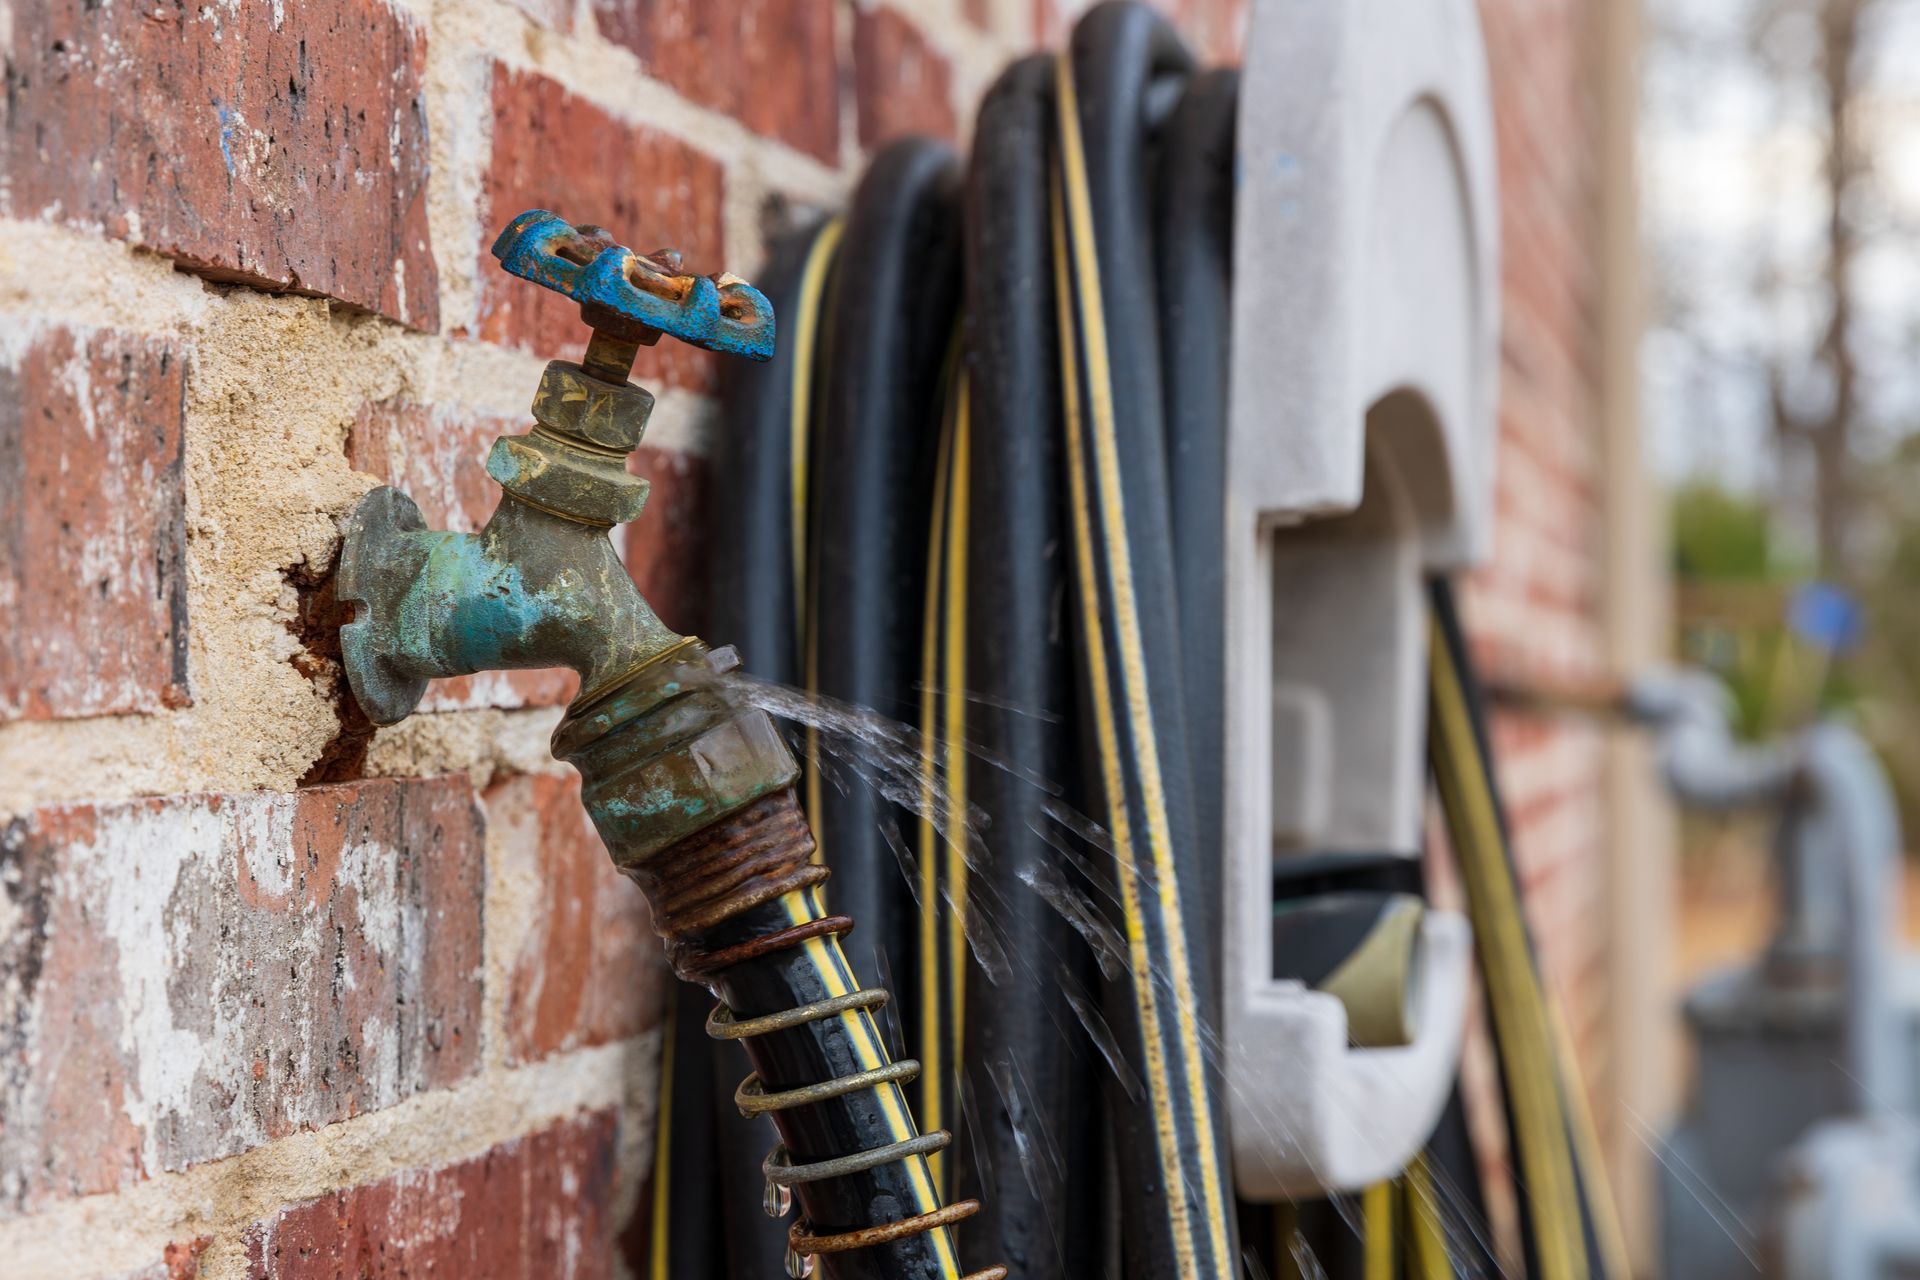
Remove any garden hose connected to the water supply. We will connect our head assembly to the main water line.
Connect the irrigation timer to the water supply (outside faucet). The timer will always be the first part you hook up to the hose. The timer is the only part of the assembly that is rated for constant pressure, and that's why it goes on first.
Hook up the backflow preventer. This prevents water from siphoning back into the water supply.
Connect the filter. Again, this piece is to prevent any contaminants from getting into the line.
Hook up the pressure regulator. This maintains downstream pressure of 25 PSI in the drip irrigation system. This is how you make sure the emitters drip evenly across the system.
The final piece of the head assembly is the 1/4" Tubing Adapter. This is how you connect the tubing to the water supply.
Installing the 1/4" Mainline Tubing
Connect the 1/4" Mainline tubing to the 1/4" adapter you just put onto the water supply. Now that you have some tubing connected to the water supply, you are going to start running poly tubing to your plants.
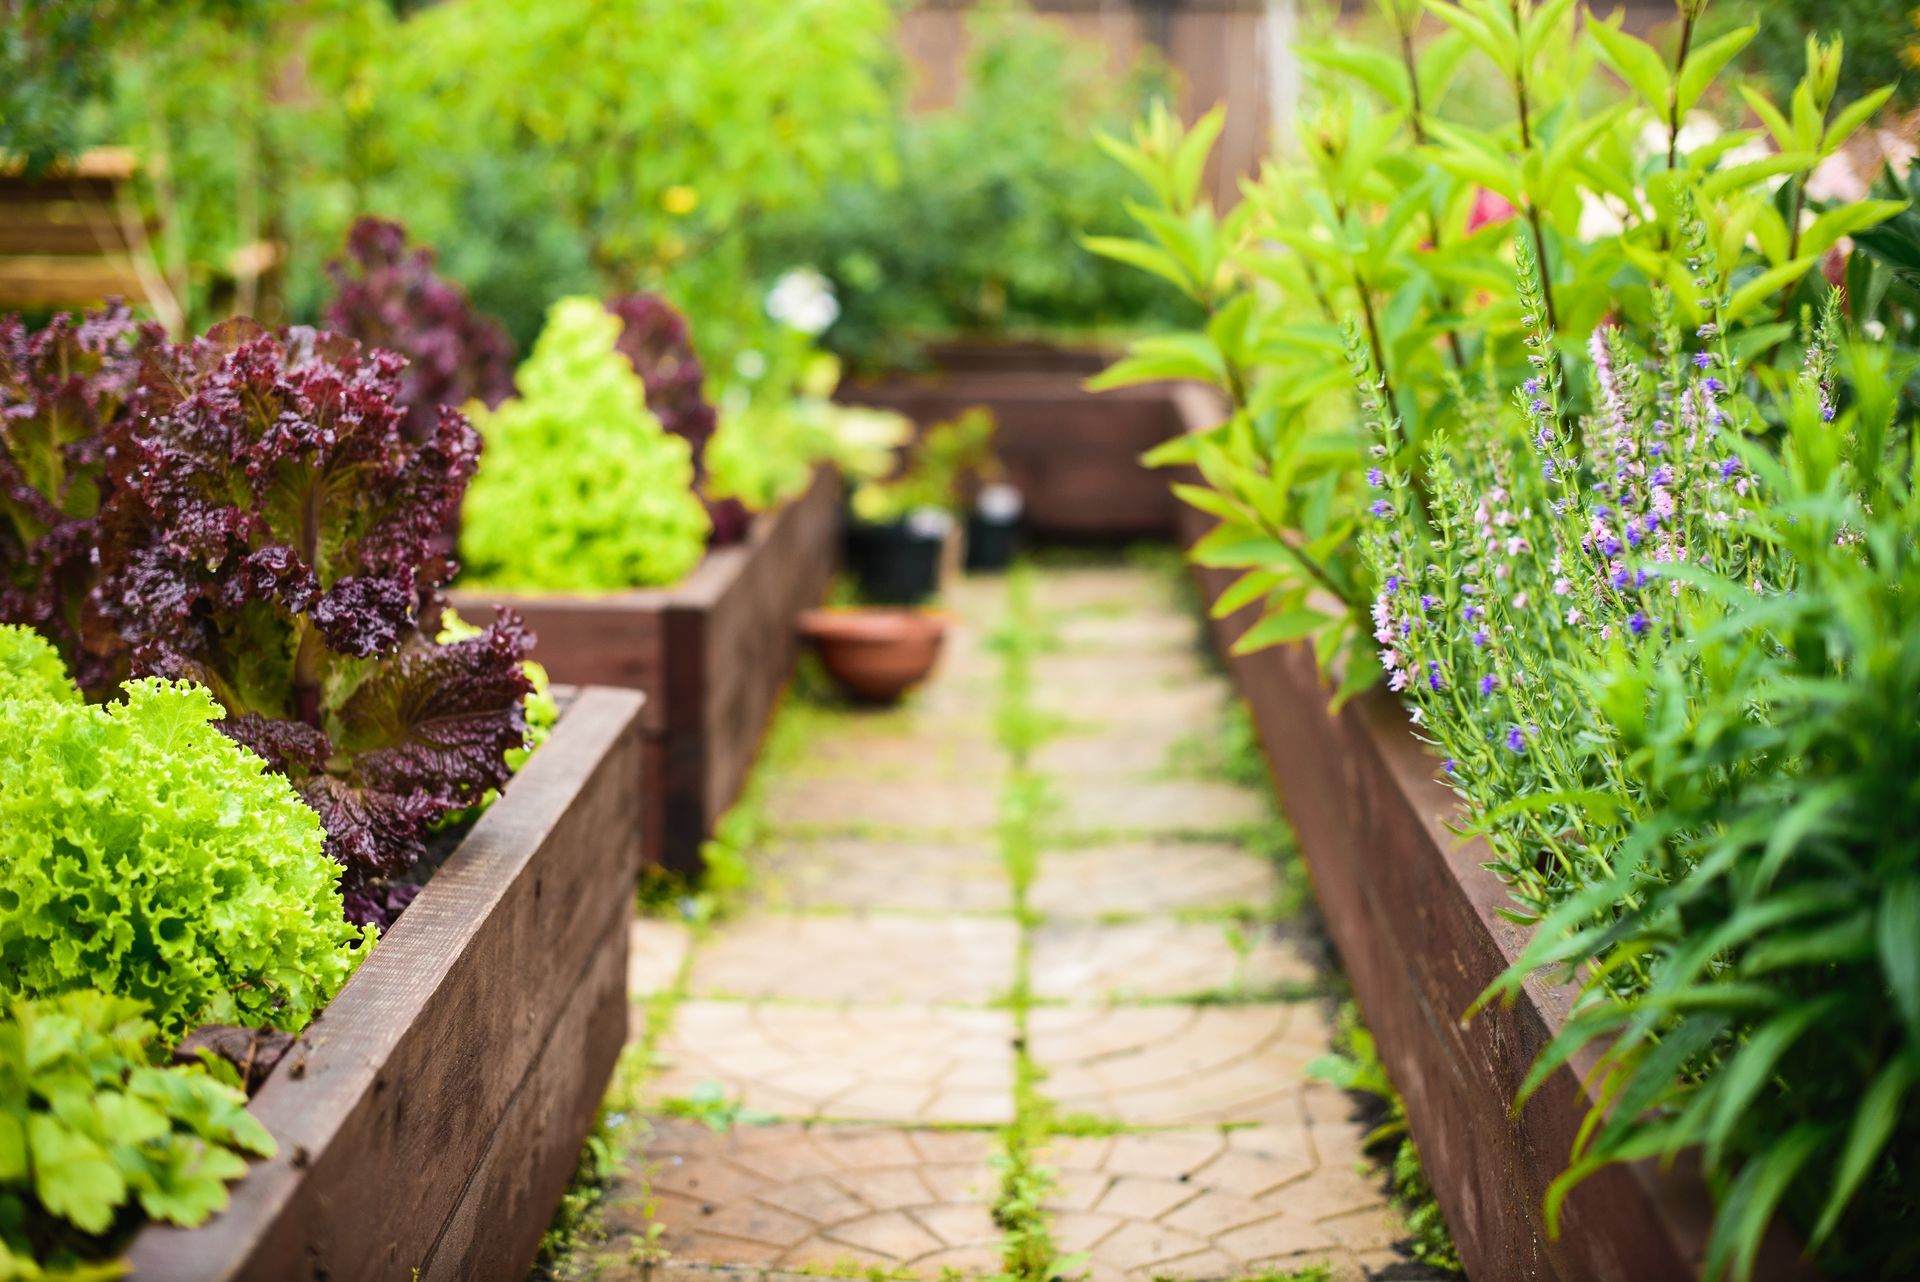
Let's say you have a patio with plants running down the side of it. You would run tubing down to the patio, cut it, then install a 1/4" T so that you can branch out to pot while also keep the tubing running down the patio.
You would repeat this process for all the pots on your patio or front yard. We recommend you run the line to each potted plant before clamping down any of the tubing. Trying to cut and fix tubing that is already clamped down can be frustrating.
If you need to connect two pieces of tubing directly, make sure you to use a 1/4" coupler. Once you have the tubing laid out, you can use on of the 1/4" clamps if you wish to secure the line to your deck or patio. Make sure any T's you created are facing up towards the potted plants you'll be running water to in the next step.
Installing the Button Drippers (Drip Emitters)
Run the tubing up to one of your plants. We recommend you use a tidy bow elbow so you can adjust the line accordingly to go into the plant. The tidy bow is useful because it's not a permanent fixture in the line, and you can move it later on if you get another plant.
Once you have the tubing near the plant, this is where you would attach a dripper. Smaller plants only need one dripper, while larger container sizes might need two. You run the line up into the potted plant, and use a stabilizer stake to hold the dripper.
Note: Larger pots need 1 GPH, while smaller plants do well with 0.5 GPH drippers. This is why you run two in the large containers, and one in the smaller pots.
Put the dripper down near the root of the plants. Make sure it doesn't hover over any of the foliage. Repeat if you need two drippers for the plant.
Expanding the System
At this point, most of your tubing should be run, and your plants should have drippers in them. But let's say you want to add another plant down the line. How would you do it? Simple.
Put the new pot along the system. Use your tubing cutter, cut into the line you already established earlier. Add a T to the line and branch out to the new pot. Reconnect the mainline to the other side of the tubing.
Once you have tubing going into the new pot, add another button dripper and it should be perfect.
Ending the Lines
Typically, the system will end in one of the drip emitters that goes into the plant. But let's say you leave the tubing "open-ended" so that you can expand your system down the line. All you need to do is plug the open end with one of the goof plugs.
System Flush
One thing you do before you start running the system is do a system flush. This will get rid of any debris in the system. Remove the goof plug you just put into the tubing and run water through the system for a few minutes.
Run it on both sides of the system. If you use a dripper on one end, just remove it and run water out of that line to flush it for a few moments. Put the dripper back on and attach it back to the plant.
First Watering Cycle and Test Run
Start your first watering cycle. This will serve as a test run. Walk the line to ensure there aren't any leaks in the system. Most leaks are usually around the fittings or damaged tubing. Just tighten or check connections and the system should be good to go.
Sweet New Earth's Final Say on Drip Irrigation for Potted Plants
Installing drip irrigation for potted plants or containers is simple, especially if you use a system from Drip Depot. They simplify the process by including everything you need in one of their kits. We highly recommend beginners buy kits rather than individual parts because the process is much more streamlined and efficient.
FAQs

Carl Anderson
Carl Anderson is an avid outdoorsman with a keen interest in writing about and reviewing tools. He has over 20 years of writing experience and the only time he isn't feverishly typing away at his computer is when he's outside in nature working on his projects. You can learn more about him here.
Join our community!
Join to receive guides, insights, and the latest gardening deals!